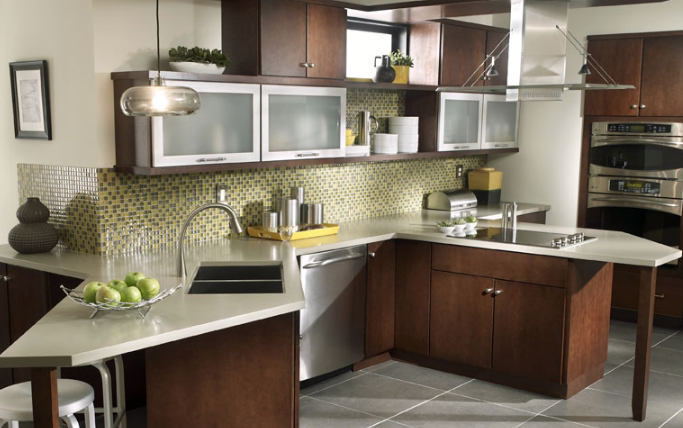
 Ready to choose the right countertop for your home? With so many options like solid surface, quartz, and other materials, how can you choose? For over fifty years, solid surface countertops have durability and a versatile number of styles. Be inspired with these kitchen countertop ideas.
What is Solid Surface?
When looking at the best kitchen countertops for 2020, consider solid surface countertops. This durable countertop mimics natural stone but is non-porous. Unlike bouncy laminates, solid surface countertops do not crack or break easily. The material continues from top to bottom, making it more durable under the impact. Want to make a statement? Fortunately, solid surface comes in a variety of styles and colors that will match any of your exciting kitchen countertops ideas.
Solid surface countertops can withstand heat. Homeowners should use a cutting board if they have solid surface countertops. Hot pans may damage the surface if they have a very high temperature. The non-porous nature of solid surface means that cleaning and maintenance are easy.
Wood Surfaces
While wood surfaces can be beautiful they require regular maintenance to maintain their look. Wood can be hard to clean and may get slimy over time. Porous wood does not withstand damage or spills as well as a solid surface.
Granite and Marble
Some homeowners like the luxurious look of granite or marble countertops. This costly option does crack like natural stone.
Tile Countertops
Another popular option this year includes tile countertops. This ornamental option withstands heat. While a beautiful option, tile will chip easily. Heavy impacts can crack the tile. Grout lines need proper sealing to prevent staining from spilled liquids or coffee.
Contact Us
Since 2001 Solid Surface Canada has provided superior solid surface fabrication and installation. We pride ourselves on our attention to detail and adherence to the highest of industry standards. Contact our experienced team today about your kitchen countertop needs. We provide an extensive array of exciting styles, colors, and designs perfect for every homeowner and budget. Trust us to build the kitchen of your dreams. Call us today.
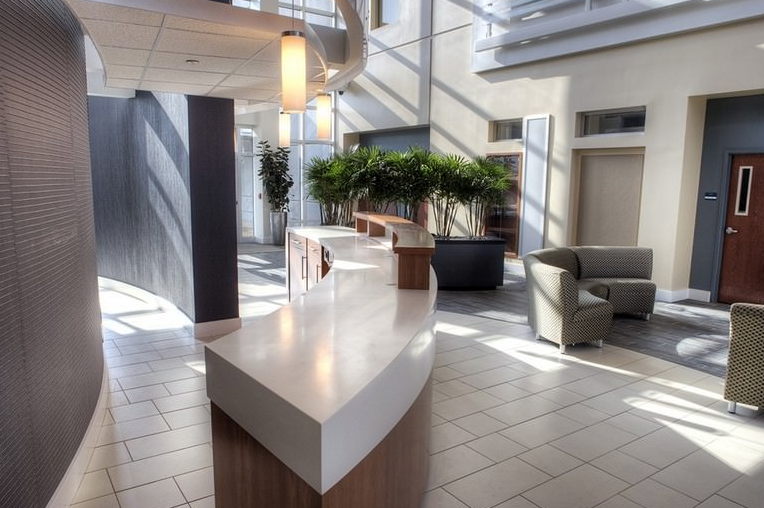 Whether you own a home, have a small business or run a large restaurant chain, you make a first impression the minute someone walks through your door. The right countertops make a statement about your home or business. You want surfaces that emphasize both elegance and functionality, as well as your individual taste. Explore this year’s trending Minimalist design ideas.
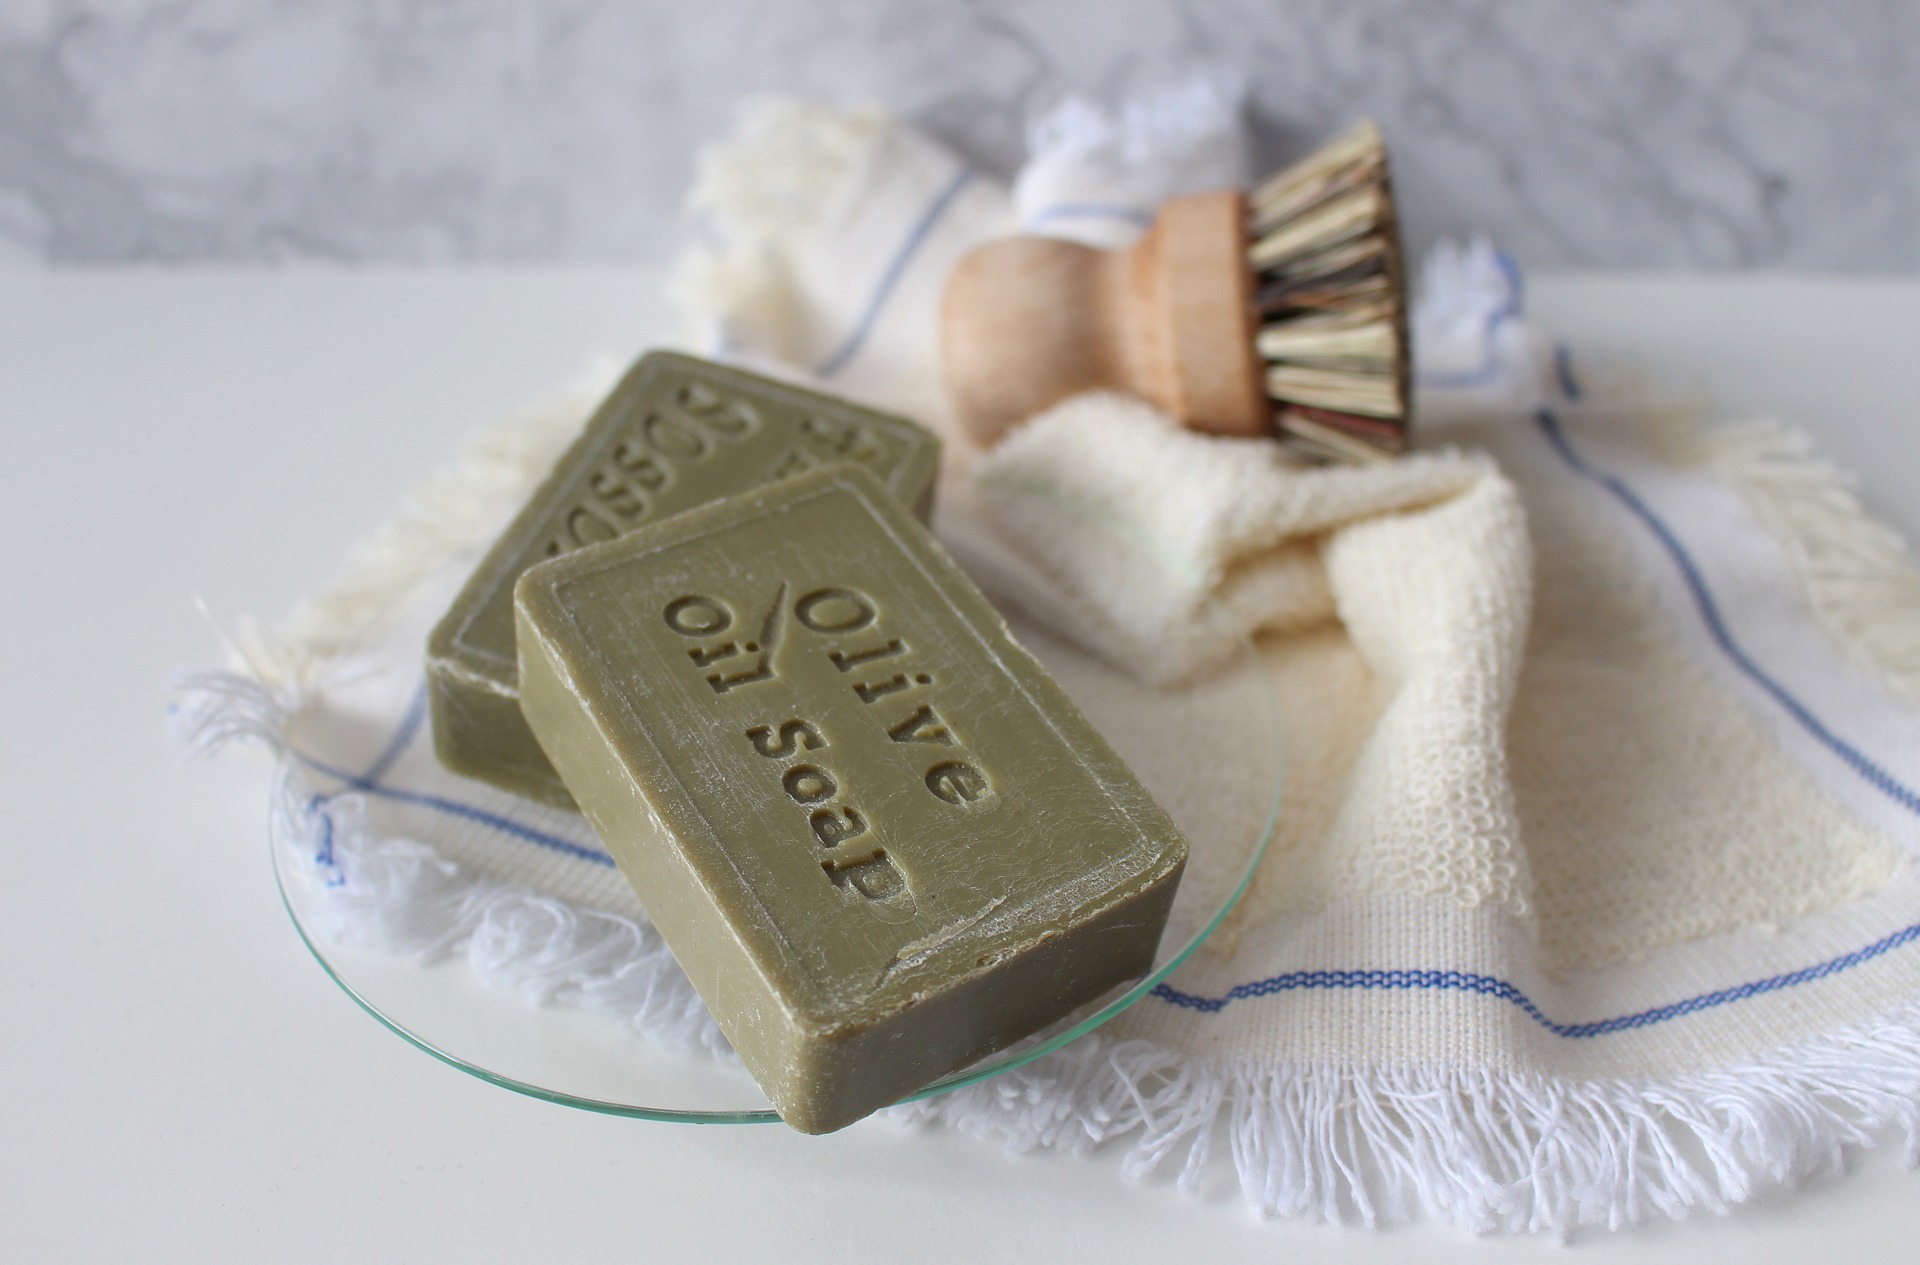 Your kitchen is the life of your home. It’s where everyone gathers to share stories from their day. To unwind and savor the fruits of their labor. But after a shared meal together, there’s the unfortunate necessity of cleaning up. We’re here to help make kitchen cleanup easier for you.
 If you’ve ever been to Paris, chances are you’ve strolled through the Galleries Lafayette. You probably didn’t buy anything, but it was nice enough just to see how the other half lives. Galleries Lafayette has expanded into Shanghai, China, and with it, they have brought solid surface to create the high end retail look you all know and love.
 As you head into the new year, you might start wondering what kitchen projects to tackle. Here are a few that should definitely make your list.
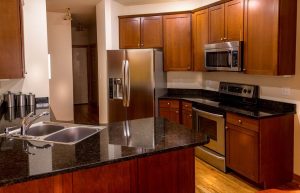 With your busy life, you don’t have time to deal with countertops that need tons of regular maintenance. Sealing natural stone and worrying about scratches and stains is more work than many of us want to put into our kitchen! Fortunately, there are a wide variety of countertop materials that are significantly lower maintenance, allowing you to have great countertops without the added work or stress.
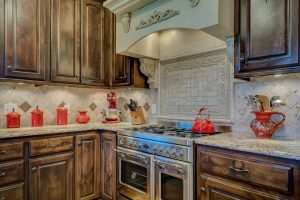 An “L”-shaped kitchen layout is one of the best out there. It’s extremely functional, with everything in easy reach, and it works well with open floor plans, which is the “in” style at the moment. It’s one of the best layouts to start working with, as its basic function and shape are ideal for an attractive, functional space.
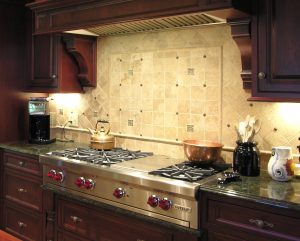 For understandable reasons, the majority of time planning a kitchen renovation or remodel is spent on the major aspects of the remodel – the cabinetry, the
 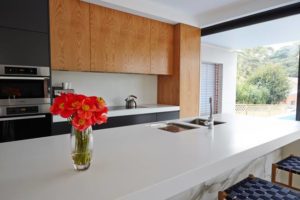 Installing solid-surface countertops yourself can be a challenging task for even the most avid DYIer. This is why so many professional services exist – to help navigate all the challenges and issues the layman is likely to encounter when trying to get a professional, long-lasting look in their countertops.


 Copyright © 2026 · Solid Surface · Web design by