How To Keep A Kitchen Island Functional

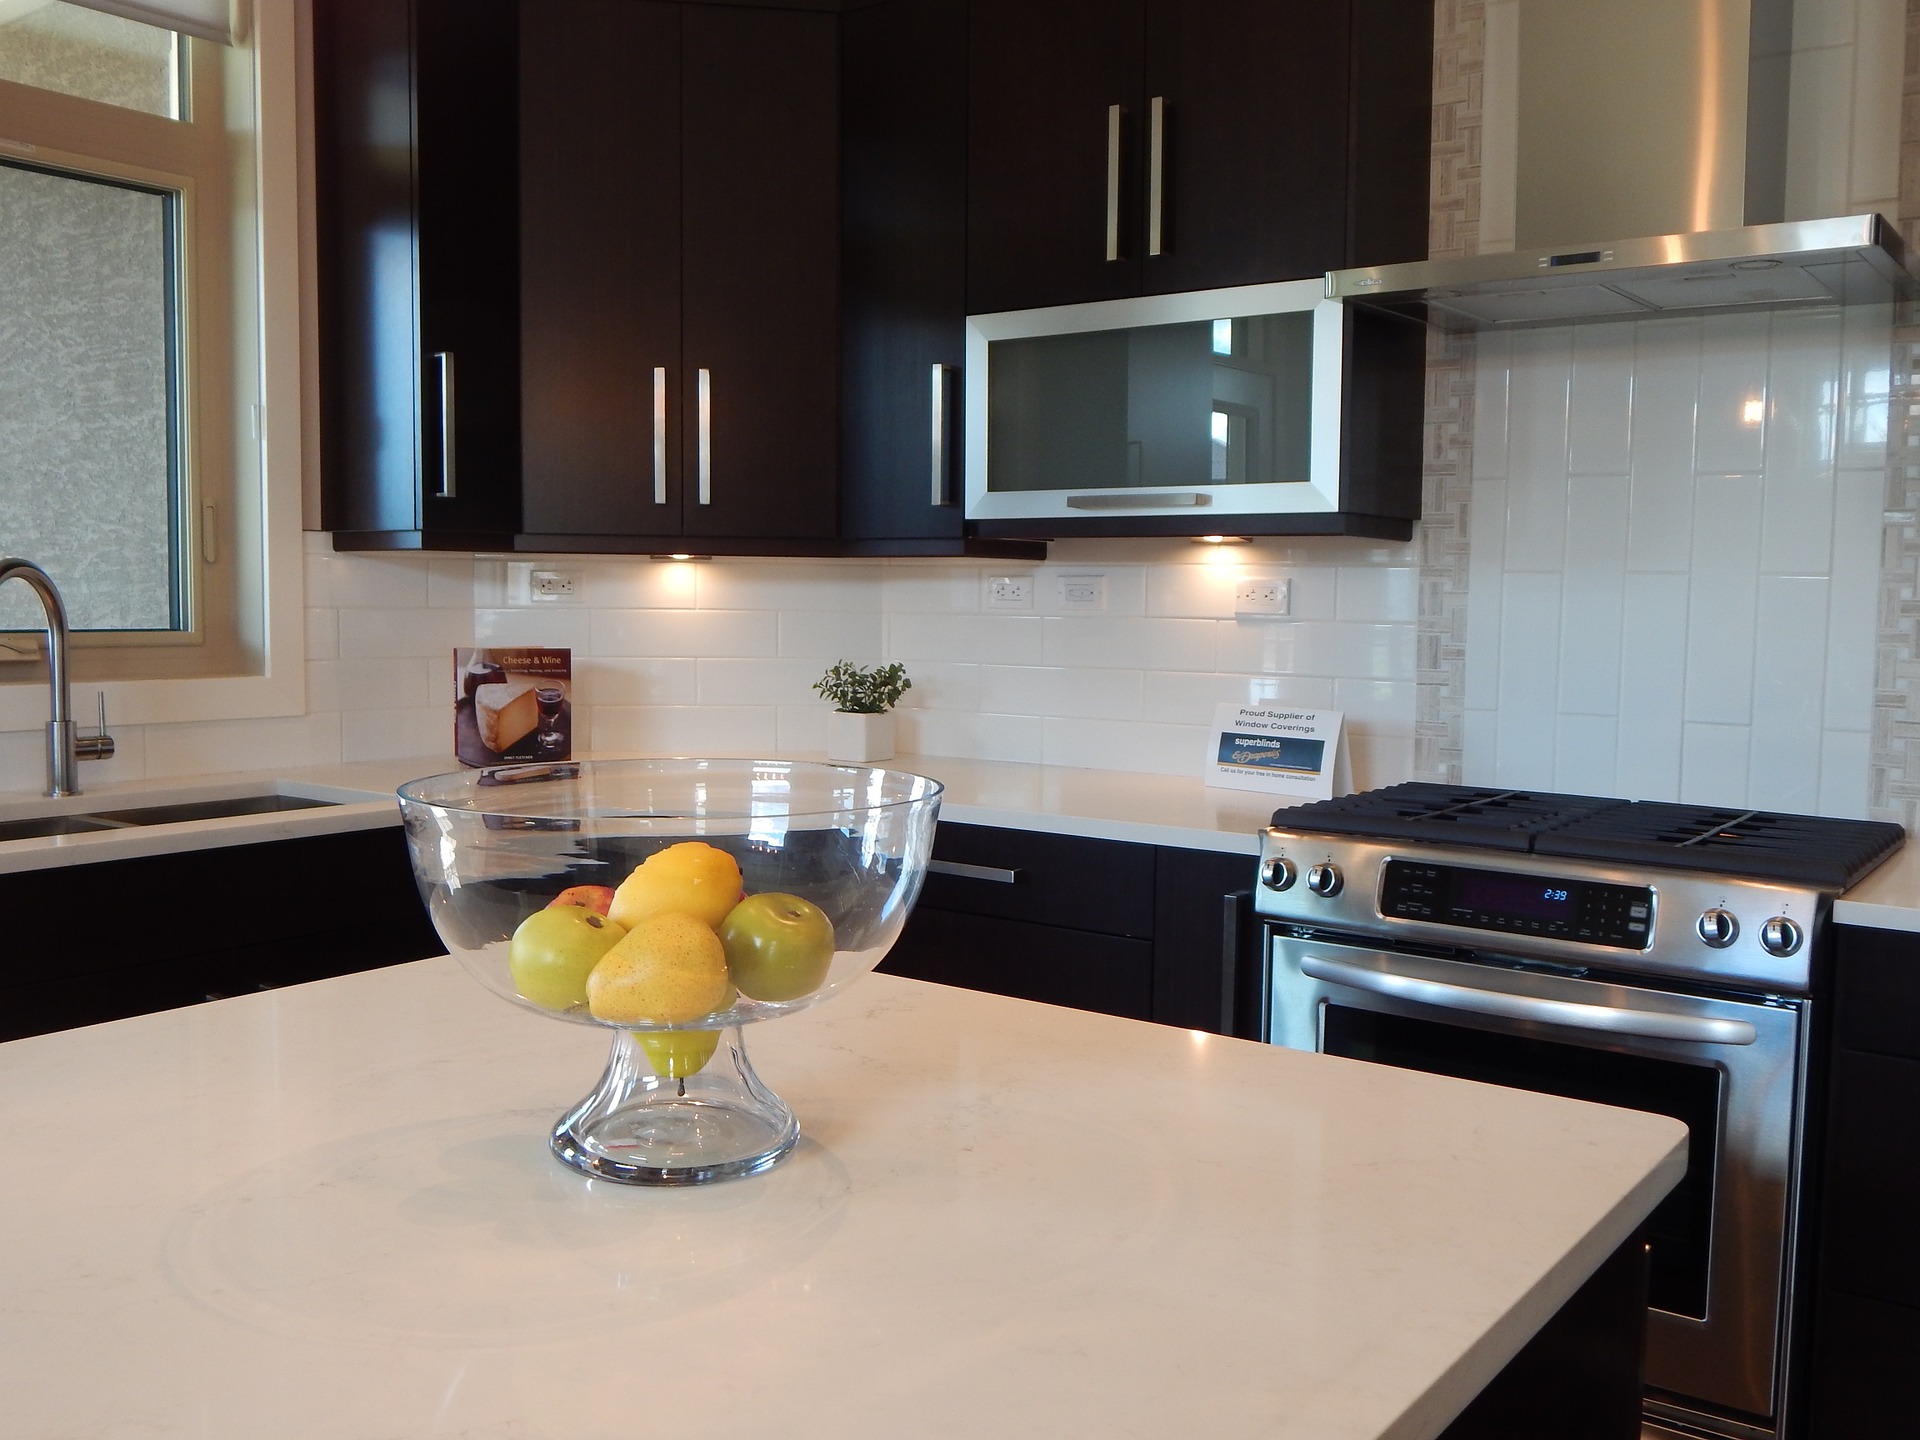
how to keep a kitchen island functionalThe kitchen island is often the focal point of a room, and it’s important that it not only looks good, but has a purpose. Here are some tips on how to keep a kitchen island functional.

Storage

The best way to keep a kitchen island functional is to use it for storage. Whether it is open shelves or hidden shelves, be sure to have a kitchen island that works for you, not against you.

Large, stationary kitchen islands often have shelves behind cupboard doors. This is great except, depending on the size of the island, these shelves can actually be quite deep and impractical. If you find this is the case, don’t be afraid of creating extra doors on the other side. This way you can access the shelves from both side and keep everything better organized.

If your kitchen island has open shelves, be sure to invest in stylish bins and baskets to keep everything organized. Wire baskets will fit in a rustic-themes kitchen. Stainless steel bins adhere to a modern look. This is an easy way to add décor and add to your theme.

Whatever the design, the best way to jeep a kitchen island functional is organize is so that it works for you. Keep utensils that you use every day close at hand. Put larger, less used items, farther back. Function is the key to organization.

Portability

A Kitchen island is often stationary, but if you have the opportunity to create a movable kitchen island, be sure to take it. Portability gives you the freedom to move your kitchen island according to your needs. If you are short on counter space, then an island can quickly maneuver to be extra prep space. It can also be positioned as a place for appetizers so guests can nibble and watch you in action.

If there are extra bodies in the kitchen than normal, then moving the kitchen island out of the activity zone may actually be the best bet. Move it to the side or out of the room completely so that nobody accidently stubs their toes.

Kitchen islands that are portable can also serve double duty as a table. You can move it into an open area, add some bar stools, and a cozy table for two is set.

De-Clutter

The biggest downside to a kitchen island is that they can quickly become a dumping ground for all sorts of odd and ends. There are two approaches to combat this.

The first is to have a clean surface rule. Under no circumstance is there to be anything on the kitchen island except meal prep. Be sure, then, to have adequate homes for all the junk mail, keys, and miscellaneous that often finds its way to the surface.

The other solution to keep your kitchen island functional is to acknowledge that it will always be a place for clutter. Then, create an organizing system. Have small baskets with labels ready. Put out a mail slot to keep flyers upright and accessible. And be sure to go through everything at least once a week to weed out expired coupons and children’s permission slips.

4 Kitchen Reno Mistakes To Avoid

4 ktichen reno mistakes to avoid

Before you dive into your next project, think about the many kitchen reno mistakes to avoid. Read on to help you plan your dream kitchen.

Budget

Not sticking to your budget is one of the biggest reno mistakes to avoid. It’s so easy to try to justify the next purchase because it looks so nice. Planning a budget is more than just picking random numbers out of the air. It requires a lot of research and a bit of fluidity.

When starting a budget, think about how much you can reasonably spend. Important factors to consider are if you will be selling the house in the near future or now. If you plan on moving, then it may be wise to scale back; after all, even if it looks nice, there’s no guarantee that the new buyers will even want to keep the new design. If you will be staying in the house for a long time, then try to spend the top of your budget so that you can get the most enjoyment out of it.

Once you have a total budget, minus 10% from this number. That 10% will be your contingency fund; once you start tearing down walls, there may be a lot of unforeseen costs. With this new number, start dividing it into categories: appliances, paint, accessories. Don’t forget costs for items you can’t see, like plumbing and electrics.

Keep going back to your budget as your kitchen reno progresses. If you always know your numbers, then one of the kitchen reno mistakes you can avoid is going over budget.

Workflow

There are three main parts of the kitchen that create a triangle workflow: the sink, the stove, and the refrigerator. Make sure that there is a clear path between these elements. Practice going between the three areas and envision yourself prepping, cooking, and cleaning. If you find that you have to walk around the island to reach the refrigerator, then you may need to rethink the design. This kitchen reno mistake needs to be thought of early in the planning stage. It’s a lot harder to move a sink after a completed kitchen reno than before.

Choose appliances first

It can be easy to overlook appliances and go straight for tile, countertops, and cabinets. But appliances should really be the first step in a kitchen reno. Refrigerators come in many different depths and widths. Stoves, too, can vary in width. Instead of having a gap between the stove and the countertop, place the appliance first so that the countertop can be measured to fit exactly.

It’s also a good idea to find out how noisy your dishwasher will be. It’s nice to be able to turn on the dishwasher immediately after dinner. But, if the living area or TV area are right next to it, then it can easily disrupt your evening plans.

Big picture

Finally, an important kitchen reno mistake to avoid is forgetting about the big picture. Don’t pick out individual accents or appliances until you compare them to the entire scheme. This way everything will flow together and be harmonious.

How To Paint Kitchen Cabinets

how to paint kitchen cabinets

Kitchens are a big investment. From floors to countertops to cabinets, each piece can cost a lot both in terms of time and money. Often when choosing to remodel a kitchen, at least one element is sacrificed. If you’ve decided on new countertops but still want to do something with your cabinets, painting them is a good idea. It takes a lot of time and effort, but if done correctly, the results can be well worth it.

Preparation

First of all, pick a time that you will need your kitchen the least amount. If you have kids, wait until they are in summer camp or can spend some time with their grandparents. Summer is a good time as it means you can use your BBQ instead of the stove. No matter when you decide to paint your kitchen cabinets, be aware that you will want people to spend as little time in the kitchen as possible.

The first step to paint kitchen cabinets is to remove them. Detach any hardware and be sure to label everything. Some cabinets may look like similar sizes, but can actually be off by a bit. Save time at the end by labelling which cabinet door goes where.

Next, sand down the doors using-grit paper. As you go along, if you see any holes or scratches, use wood filler to even the surface. After the filler has dried, be sure to sand any remnants down.

Painting

First, prime the wood. This ensures that everything is sealed and there is a nice, even color to begin with. Make sure the primer is completely dry. It can be tempting to rush but if the paint is still a bit tacky, then it can ruin the next coat of paint.

When it comes to actually painting kitchen cabinets, you have two options. You can use a brush or you can use a paint sprayer. What you choose will depend on your comfortability and your space. If you do not have a garage or yard with which to use a sprayer, then a brush will have to suffice.

If you can, however, a paint sprayer will provide a more even texture to the cabinets. It is best to practice with it on a some wood, just to get a hang of the sprayer. The cabinet boxes and any trim should be painted with a brush.

Installation

Once everything is dry, it is time to reassemble the kitchen cabinets. You can definitely use your existing hardware and hinges, but now would be the perfect time to replace anything that looks dingy. Hardware can be relatively inexpensive but makes a big difference in a room. There are also great hinges that close lightly which can alleviate hard knocks and loud noises.

Make sure you take before and after pictures so that everyone can admire your DIY prowess!

3 Different Stove Types To Choose From

3 different stove types to choose from

A stove is an important part of any kitchen which means that it should be properly researched before deciding what will work best for you. There are many times of stoves but the most popular are electric, gas, and induction.

1. Electric Stove Types

Electric stove types are the standard appliance, especially with any new houses. Within this category are either coil burners or glass-covered burners. Most new electric stoves are usually housed under a glass surface.

Electric stoves are the industry standard mainly because they are energy efficient. Electricity is usually less expensive than gas so you will save money both on the appliance and your utility bill.

The biggest negative with electric stoves it can be difficult to find the right temperature for your cooking. They can take a long time to reach a high heat and an even longer time cooling down to a low heat. This can result in burned cooking quite easily if the stove is not attended to. It often takes a person a lot of practice to find the best ways to cook on an electric stove for consistent results.

2. Gas Stove Types

Loved by professional and hobby chefs alike, gas stoves were once considered one of the best stove types. The reason for this is that they offer near instantaneous heat change. Instead of waiting for an electric stove to change to a new temperature, gas stoves change as soon as you turn down the flame.

While older models required you to light the flame yourself, which was a deterrent to some, newer models have a button which lights the flame for you. All this results in a much more user-friendly device.

One downfall to gas stoves is that they can be harder to clean and need a bit more scrubbing power. Thankfully, newer models have better materials and there are more powerful cleaning agents suited specifically for gas stoves.

3. Induction Stove Types

Induction stove types are becoming more popular thanks to their innovative technology. In fact, they can almost be seen as a hybrid between electric stoves and gas stoves. Induction stoves use electricity but because of their technology, finding the right temperature is similar to the ease that gas offers.

Induction stoves use magnetic technology to work. Under the cooking surface are a series of electromagnets which react to the pots and pans places on top of them. The resistance that is created results in the heat used for cooking. As a bonus, the cooking surface remains cool which is especially great if you have children with curious hands.

There are two drawbacks to induction stoves. The first is that you need specialized pots and pans. Most cookware is labeled as to what stove type it will work on, so it is easy to purchase. This does mean, though, that it can be an added expense.

Expense is the other drawback to induction stoves. Because this is newer technology, most inductions stoves are more expensive than electric or even gas. They are a big investment. Thankfully, as induction stoves become more prevalent, the price is beginning to decrease.

How To Declutter Your Kitchen

how to declutter your kitchen

The kitchen is one of the most important rooms in a home. It brings people together and creates memories. When you’re in your kitchen you want to feel relaxed and inspired. Read on to discover how to declutter your kitchen and make it live up to its full potential.

Make a Plan

Before you start to declutter your kitchen, make a plan. Start a list of the different zones in your kitchen. These could include the pantry, under the sink, pots and pans, glassware, etc. Then, decide where you want to start.

Timing is an important factor. When organizing your pantry, do so before a big grocery shop so that you won’t have extra food items to go through. This also allows you to know exactly what needs to be replenished. Under the sink usually involves chemicals, so if you have young children, this task is best done when they are not at home, or are in bed.

Make Piles

Take everything from a specific zone and put it in a different place, like the table. This allows you to start fresh and really see what you have. It’s also a great opportunity to clean the area before you put anything back.

Make piles as you go through your items: keep, donate, garbage. Really think about if you need the item. If it’s a seasonal item, like a Christmas platter, decide if it should be kept in the kitchen or if there is a different storage area it can live in for the rest of the year.

Items like coffee mugs can accumulate quickly. Think about how many people in the house actually use them, and try to pair them down. Often there will be a set of coffee mugs that came with the dishes and more unique ones that may have been gifts. Think about which ones you use. There’s no point keeping coffee mugs just because they match the plates.

If you’re really not sure if you need an item or not, put a little tag on it. If you find that the item isn’t used in the upcoming months, be sure to get rid of it.

Don’t buy too many organizers

It can be a knee-jerk reaction when you start to declutter your kitchen to run out and buy nice-looking organizers. But try to be patient. Wait until you have gone through everything before buying baskets and bins. This will ensure that you buy the right amount. Also, try to keep the same style so that everything looks unified.

If you find that down the road you feel like you need to buy more organizers for your items, don’t. Instead of buying more baskets to keep items in, try to pare down the amount of items in the first place.

Keep to a Theme

Kitchens are not overly large spaces, so it’s important to keep to one theme. A unified look will bring the room together and keep it looking simple and clean. All stainless steel appliances show a modern look. Choose either chrome or brass fixtures, not both. Simplicity doesn’t mean boring; it means quality.

Bringing Warm Elements to Your Kitchen

Bringing Warm Elements to Your Kitchen

Your kitchen is the heart of your home. It is where people gather and where food is produced. By bringing warm elements to your kitchen you enhance that heart and make it beat even stronger. To help you decide how to include warm elements in your kitchen, here are a few ideas.

Gold and Brass

Chrome and silver are nice accent colors, but they have the potential of feeling cold. If you want an alternative, try gold or brass. These colors can be overwhelming on a large scale, so start small. Cupboard hardware has always been a simple yet effective place to add personality in your kitchen. Gold or brass hardware can bring a warm element to your kitchen.

Gold or brass picture frames are also a great idea. While there might not be a lot of wall space in your kitchen, if you have the opportunity to hang a picture, put it in a warmer-colored frame to add depth to your kitchen.

Accessorize and Personalize

Kitchens are not just about function. You spend way too much time in a kitchen for it to not reflect your personality. Add accessories to give your kitchen a personal touch. This shouldn’t be an overwhelming amount, as otherwise your kitchen can begin to feel cluttered. If you have a collection of old, well-loved cookbooks, find a place to display them. If you collect vases, make sure they are cleaned and put them together on a shelf. Antique plates from your grandmother can be hung on the wall. Keep accessories to a central theme, but don’t be afraid to make your kitchen represent yourself.

Use textures

Textures are an easy way to bring instant warmth to any kitchen. Chances are there is a window in your kitchen. Put up a simple curtain topper in a warm, playful pattern to add personality to your kitchen. Warm colors like a deep cream, or traditional patterns like a plaid, will add warmth and help frame your natural light source.

Your kitchen table can also use texture. There are many options here, from tablecloths to placemats to cloth napkins. Choose the option that best works for you. If you want to make sure that your kitchen surface remains visible, cloth napkins may be the best way to go. You can even take the extra step and find your own fabric and have a sewer make a set for you. Textures will help make your kitchen a warm room to be in.

Keep Focused

Keep focused on your kitchen’s purpose. Kitchens are meant to bring people together. They are meant to provide nutritious and tasty food. Kitchens should not be hidden. They should be the focal point of a home. Use this knowledge when you decorate your kitchen. When you bring warm elements to your kitchen you signal to everyone else that they are welcome here.


How to Choose the Right Bathroom Sink

right bathroom sink

Choosing a bathroom sink depends on many factors. Which bathroom you’re shopping for, how much space you have, and what functionality you want. Before you make any decisions, here are some pros and cons of some common types of sinks that are available.

Top Mount Sink

 This is probably the most common sink. It sits on top of the counter. Most of the sink is below the counter, with the rim being on top of the counter and visible. They work with pretty much any countertop material. They’re quite easy, and inexpensive to install. The only downside is that if there is any water spill, you won’t be able to wipe it straight into the sink. It works well for ensuites or minimalist design schemes.

Undermount Sink

 An undermount sink sits underneath the counter, with the rim fixed to the underside of the countertop. It’s a seamless look, and water spills can be wiped directly into the sink from the counter. Undermounted sinks can only be used with stone, or other solid surface countertops. It can’t be used with laminate, as it can’t be sealed from moisture. It’s also a more expensive option than a top mount sink.

Wall Mounted Sink

 A wall-mounted sink is fixed directly to the wall, so there’s no countertop. It doesn’t have any cabinets, so your bathroom will look bigger, spacious and less cluttered. It does mean that the plumbing needs to be inside the wall, to give a cleaner look. The only minus is that it decreases the amount of storage space. It’s a great look for small bathrooms.

Pedestal Sink

 A pedestal sink is a simple option and one that makes up for any plumbing challenges. The pedestal can be used to hide any plumbing, and the sink sits on top. It works well for period, and traditional homes. It does mean that there isn’t much storage.

Semi recessed Sink

A semi-recessed sink can be a great option for bathrooms with limited space, as it still gives some storage space. It sits on the counter but is partly recessed into top and cabinets. It sits closer to the front of the countertops, so it’s a good option for people with limited mobility. As there’s no countertop at the front of the sink, any water spills are more likely to end up on the floor.

Wash plane Sink

Wash plane sinks are slim, sleek, and stylish. They’re often seen in hotels, and restaurants. They can be ceramic, porcelain, glass, or even marble, engineered stone, or granite. They’re a fantastic option for powder rooms, as they’re a space saving sink. They aren’t suitable for ensuites or full-size bathrooms, as the basin is shallow and has no plug.

Vessel Sink

A vessel sink should sit completely on top of the counter, but some may sit a little below. They make a statement and can be a beautiful feature piece. You will need to carefully plan counter height, as vessel sinks can be quite tall. It can be difficult to clean around the base, and the back of the sink.

All in One Sink and Countertop

An all in one vanity unit has a sink that’s moulded as part of the countertop. It’s easy to clean and is available in a wide range of colours and materials. They are usually available in set sizes, but you may be able to have one custom made. The design can mean that you don’t have a lot of flat counter space.

Kitchen Décor Trends for 2018

Kitchen Décor Trends for 2018Upgrading your kitchen to the latest styles and trends is a surefire way to keep it looking exciting and interesting all year long!  Whether you’re in the market for a complete remodel, or simply swapping out key pieces for a quick facelift, you can make your kitchen feel entirely new by updating to modern styles and trends.  Here are a few big ones for 2018 and beyond!

Brass and Aged Metallics

Brass and other aged metallic add a feeling of warmth to your kitchen.  When you used an accessory or highlight piece – rather than the omnipresent feel of brass in kitchens from the ’80s – brass both reflects light and adds a hint of luxury to your kitchen.  Lighting fixtures, switch-cover plates and cabinet hardware are all logical places for a little elegance.

Matte Black

Using black for accents has significantly grown in popularity over the past few years, but glossy black paint can both be off-putting and difficult to keep in pristine condition.  For a softer, and easier to manage effect, try using flatter, matte black pieces as accents.  Chairs and chalkboards are two great ways to add a little flat black contrast to your kitchen.

Dark Floors

Light colors make the most sense for cabinets and walls – they help create the illusion of space, which is key in smaller rooms.  However, if you’re looking to add to the feeling of coziness in a room – or just looking for a large contrast to the greiges and off whites that are so in vogue today – a dark floor can be just the ticket.   If you have wooden floors, a dark stain is a great choice.  Darker tiles or stone floors can also get much of the same effect.

Varied Materials

Mixing and matching from various high-quality material is a great way to make your kitchen feel sophisticated.  High quality wood cabinets and solid surface countertops are a particular favorite of ours, but glass, concrete, stone, ceramic, metal – varying classic and modern styles gives designers a wide range of space to choose from.

Benefits of a Solid Surface Sink

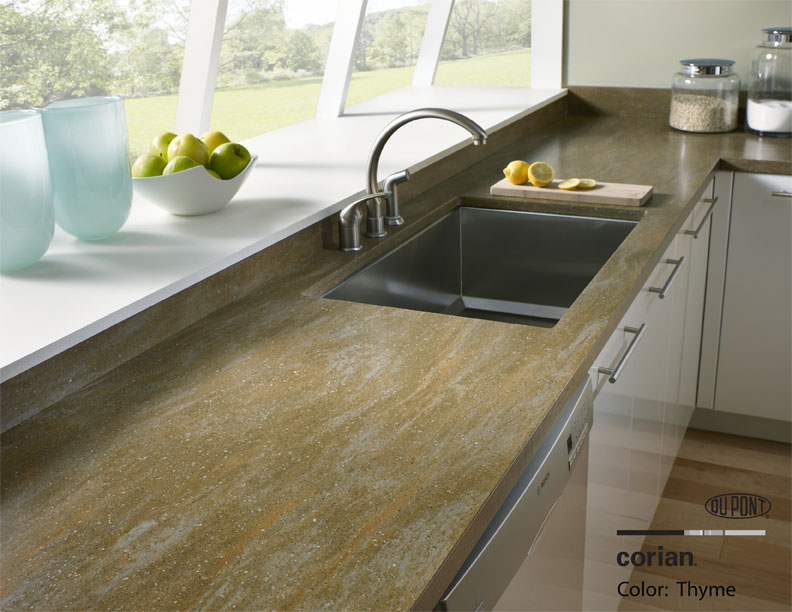
Benefits of a Solid Surface SinkWhen picking a new surface for your kitchen or bathroom sink, we highly recommend solid surfaces.  If you’re looking for a wide range of performance abilities, a selection of different looks and designs to choose from and a reasonable price tag, solid surface is simply very difficult to beat.  It is absolutely perfect for your next sink replacement.

First of all, solid surface is seamless.  It can be integrated into your solid surface perfectly, without obvious seams, joints or other connections. The seamless joints look amazing, as your entire room ends up looking like one continuous piece, but this isn’t just a positive because it looks good.  No, the lack of seams and cracks means that your surfaces are much easier to clean.  You don’t get bacteria or mildew growth because there are no cracks and crannies for them to spread into.  That makes it an exceptionally hygienic option, especially compared to natural marble or other surfaces.

Secondly, you get a wider variety of colors and styles when you pick solid surface.  When you pick a natural sink material, your choices are generally limited to the natural colors of the rock.  Even materials like stainless steel just come in one basic color.  Solid surface, on the other hand, has an entire range of styles and colors to match any room’s requirements.  No matter what color or design scheme you’re planning on using, solid surface has a match for you.  Your customization options are drastically improved when you use solid surface.

Finally, solid surface is both durable and renewable.  Solid surface isn’t as fragile or brittle as porcelain or ceramic, making it less likely to break and scratch.  It is somewhat more likely to scratch than those materials, but that’s where solid surface’s real benefits shine.  Any stains or scratches can be buffed or sanded right out – solid surface is continuous, meaning the color and pattern stays the same throughout the entire depth of the material.  That makes any repair a very easy task.

Consider solid surface for your next sink!  You won’t be disappointed.

3 Ways to Make Your Small Kitchen Shine

3 Ways to Make Your Small Kitchen ShineA small kitchen doesn’t mean you have to have a small sense of style!  Even a small space can shine when given the proper attention and design touches.  Everything from a minor rearranging of appliances to major remodeling can help make your small kitchen into a centerpiece of your home.  Here are some of our top tips to make your small kitchen shine!

Open it Up

One of the major issues with smaller kitchens is the feeling of claustrophobia they can engender.  With overhead cabinets reaching up high overhead, it can feel like you’re dwarfed by these massive blocks of hardware, limiting the sense of space and light you get in your kitchen.  Open storage, on the other hand, can provide a more freeing and less boxy feeling for your kitchen.  Shelving, pot racks, magnetic holders – they’re great ways to keep the same amount of storage without devoting previous feet of space to cabinets.

Use a Variety of Materials

In a small kitchen, a variety of materials can add visual interest and contrast.  At the very least, it can be more aesthetically appealing than a solid block of white!  A mix of wood, metals and surface materials, when properly chosen and working together, can create a unique style.  You don’t want to go too crazy – you want everything to look somewhat unified and planned – but picking contrasting materials for your countertops, cabinets, flooring and fixtures is a way to add compelling details to an otherwise boring small space.

Use Glass

Opaque surfaces feel like walls and floors.  They limit and set the boundaries of your space.  If you replace those cabinet doors or tabletops with glass, however, you’re suddenly opening up your room even more.  You end up visually expanding your space, even if the physical space remains the same.  Reflective glass – or even just a simple mirror – can also create that illusion of extra space.  Backsplashes are perfect places to install some of that glass tile that can really make your kitchen sparkle.