5 Summer Countertop Mistakes GTA Homeowners Keep Repeating

white kitchen surfaces

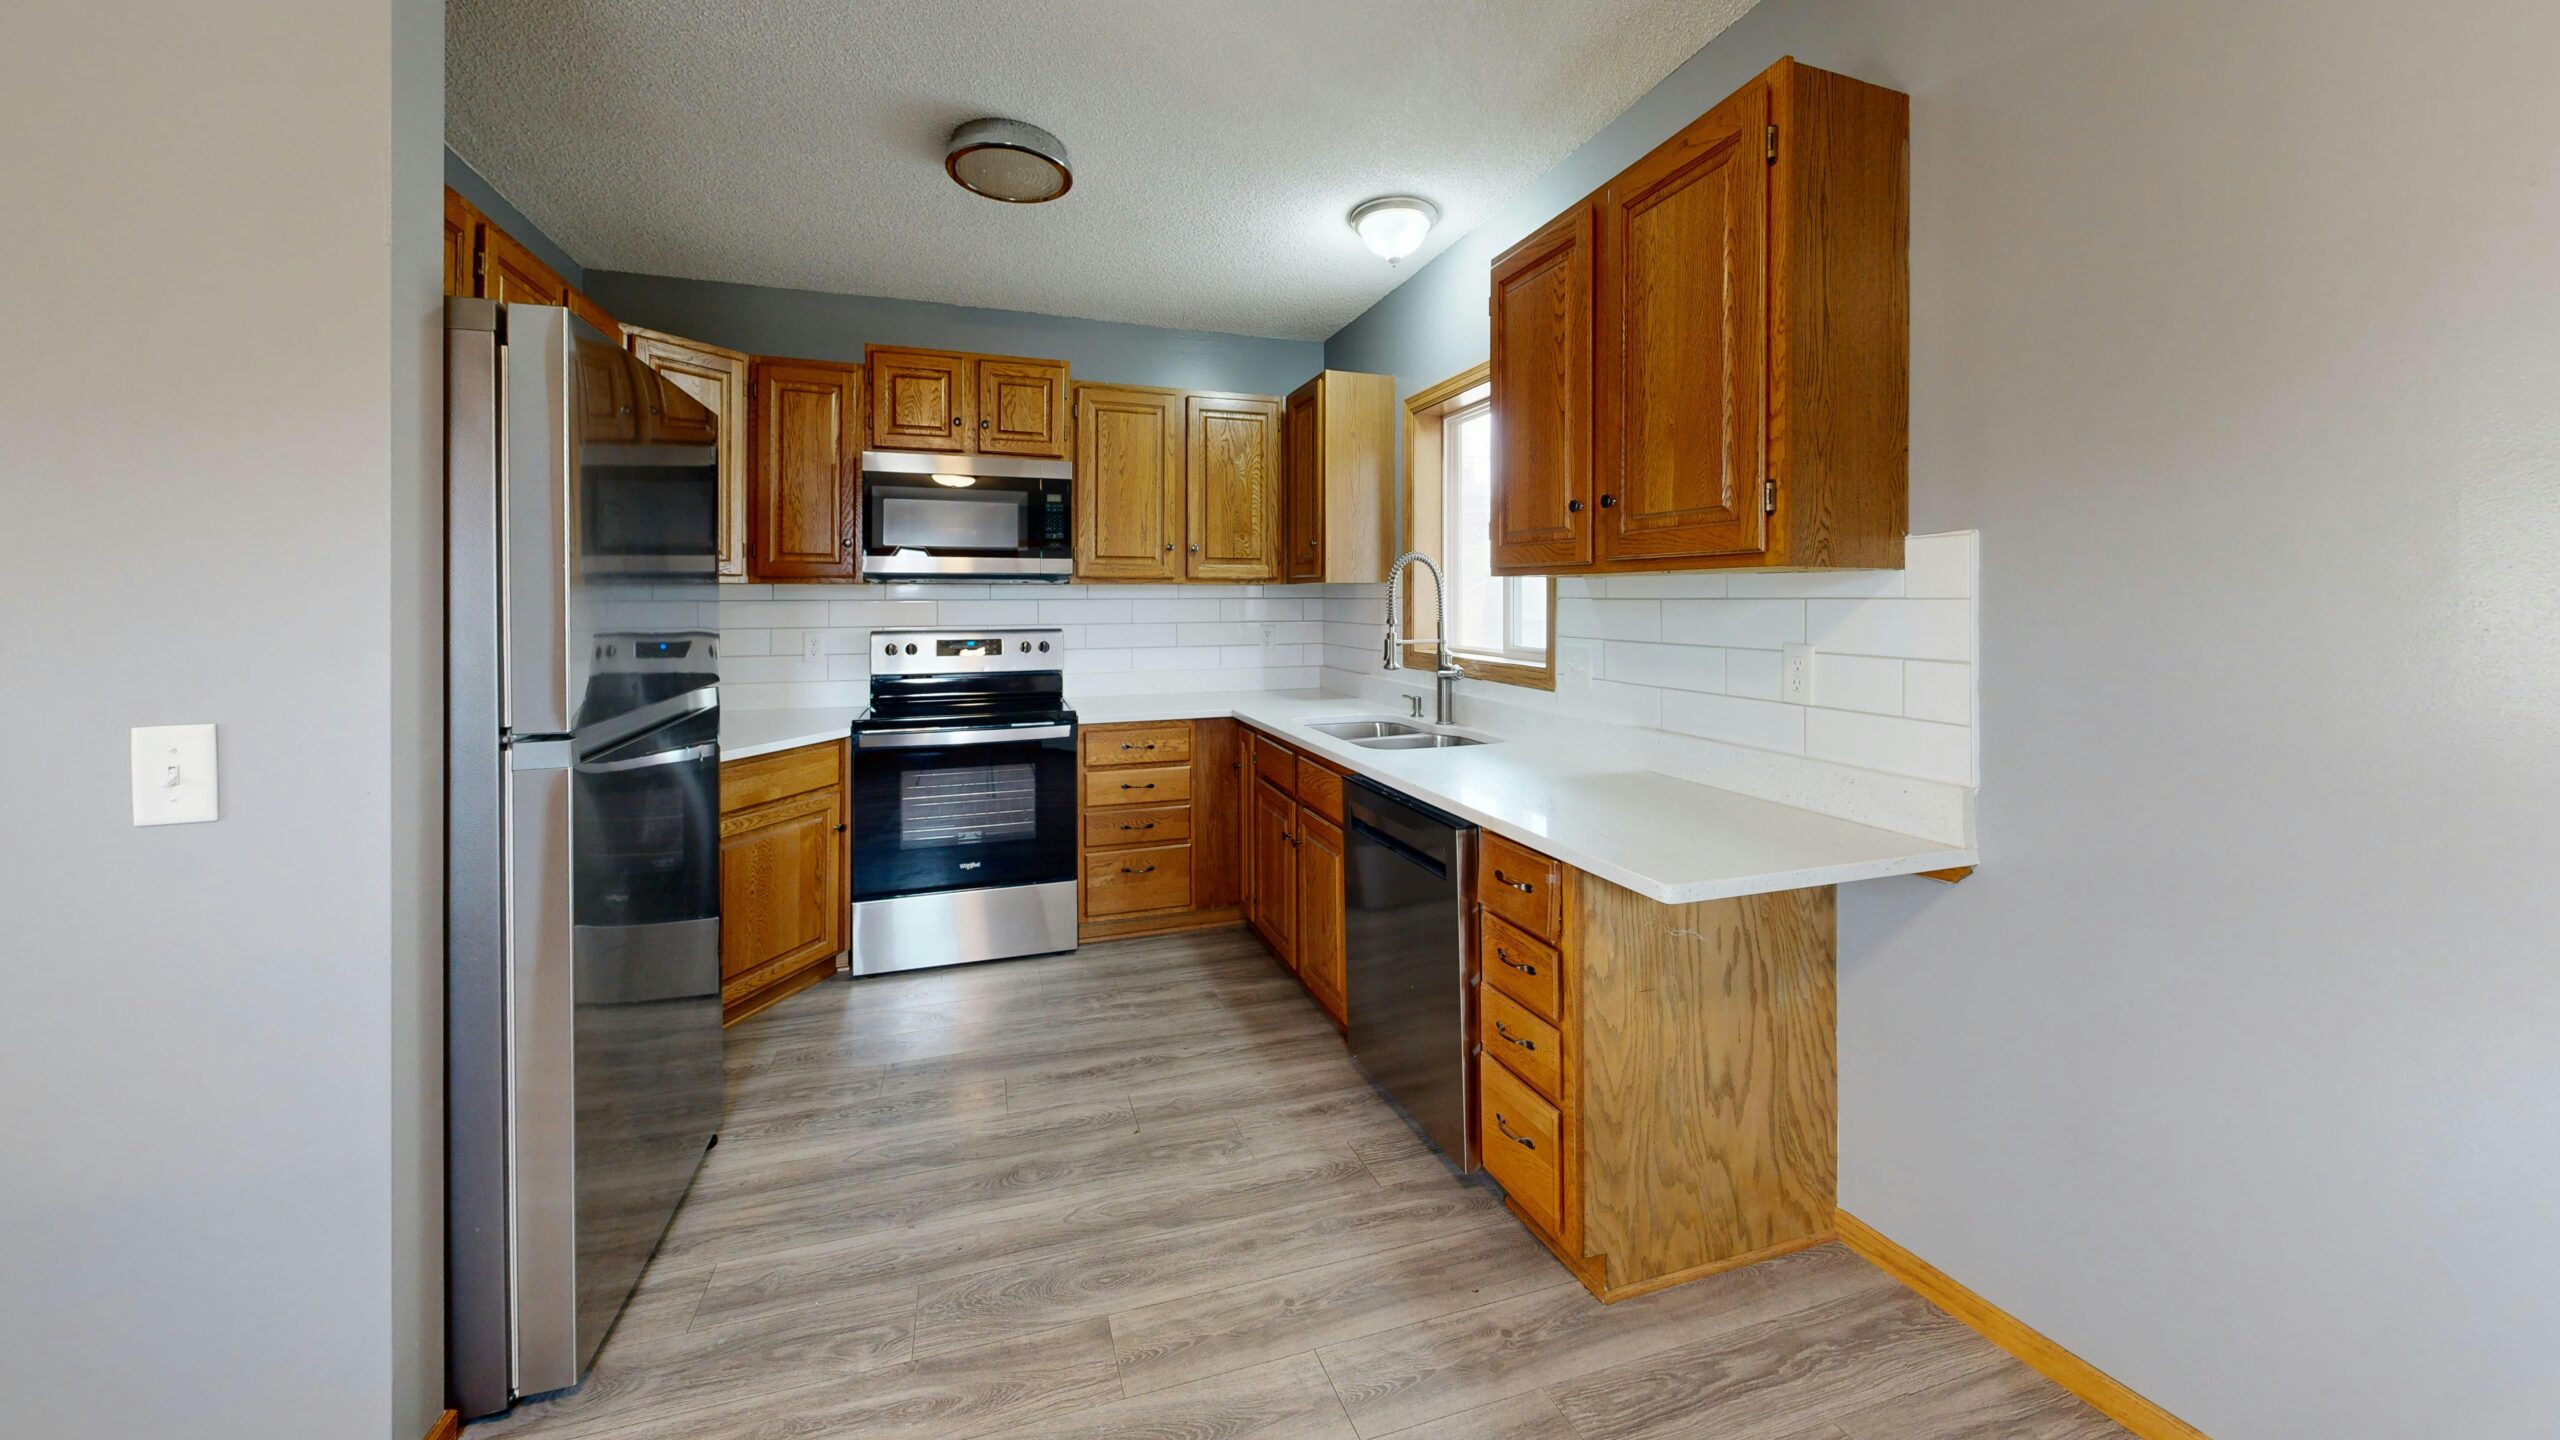
Once patios open and BBQ season starts, most of the GTA shifts back into full kitchen use. A tired summer countertop setup can turn easy meals into stress, and the same bad habits keep ruining good surfaces year after year. Small changes now can help your kitchen look sharp through the full 2026 season.

1. Parking Hot Pans Right On The Surface

Warm days mean more grilling, roasting, and air‑fryer runs. Many owners still drop hot pans on the same spots day after day. That move can mark or weaken some surfaces over time, even if they seem tough.

A simple fix is to keep sturdy trivets or built‑in hot zones near key cook spots. When you have a set place for hot dishes, you protect the rest of the work area from heat stress.

2. Letting Juice, Wine, And Sauce Sit Too Long

Summer food brings more fruit trays, marinades, and bright dressings. Spills that sit all night can stain some finishes or dull the sheen. This is a common issue after late guests or long weekend meals.

Wipe spills soon with a soft cloth and mild cleaner. Set a small “wipe zone” with towels near the sink so clean‑up feels quick rather than like a big chore. This one habit keeps color and sheen more even.

3. Using Harsh Cleaners Or Scrub Pads

Many people reach for strong chemicals or rough pads to tackle sticky mess. These tools can scratch or haze the top, especially on solid surfaces or gloss finishes. Over time, the counter starts to look worn even if it is fairly new.

Stick with gentle, non‑abrasive cleaners meant for your surface type. For tough, dried spots, let a damp cloth sit for a while before wiping instead of attacking the mess with force.

4. Treating Counters As Cutting Boards

Summer prep often moves fast—chopping herbs, slicing fruit, and trimming meat. When cutting happens right on the surface, knife marks pile up and dull both the blade and the top.

Keep a few cutting boards in easy reach and use them every time. Choose boards that are large enough for your tasks so you are not tempted to stray back onto the counter.

5. Ignoring Chips, Cracks, And Loose Seams

Small chips or hairline cracks near sinks or edges often get ignored. In warm months, more water and frequent use can make these flaws worse. Moisture seeps into seams, and the gap slowly grows until repair is more involved.

Call a pro when you first notice damage. Early service can blend repairs more cleanly and keep water from reaching the base or cabinets below. This protects the full kitchen, not just the top.

Contact Solid Surface Today

If your kitchen shows signs of past “summer sins,” contact SolidSurface.ca today. The team can help you choose and care for surfaces that handle busy GTA summers, from fresh installs to smart repair and refresh work that keeps your summer countertop looking clean and ready for guests.

How to Restore a Solid Surface Sink

How to Restore a Solid Surface SinkDo you have a solid surface sink which has seen better days?  Something that looked spectacular when it was first installed, but over the years, has become dull and tarnished?  Have no fears – often, all a solid surface sink needs is a solid cleaning and some restoration work, rather than replacing the entire unit.  With a little elbow grease and a little know-how, you can get your sink looking great once again.

One of the benefits of solid surface is that it’s a non-porous surface, meaning that stains won’t penetrate deep into your sink or countertops.  However, regular abrasion from dishes, pots and pans can still occur, which can cause that smooth luster to dull and fade.   Thin, built-up layers of grime and gunk can also adhere to the roughened surface, further dulling its look.  Some simple maintenance, however, can get it back to looking spic and span once again.

Tools

For a basic restoration, you’ll want to gather some simple tools before you begin:

  • An abrasive cleaner with bleach, such as Comet.
  • A scrubbing sponge
  • An abrasive pad, if you’re in need of especially deep cleaning
  • A small plastic bristled brush

Cleaning Powder

After wetting the sink, take your cleaning powder and spread it liberally all over your sink basins.  You’ll want to leave it on the surface for a couple of hours.  That allows the bleach to have time to act on that caked-on food gunk, breaking it down and making it easier to clean.

After those few hours, you’ll want to scrub the sink down with the scrubbing sponge.  It’s a good idea to wear gloves during this part of the restoration; the chemicals involved aren’t necessarily dangerous, per se, but they really do a number on exposed skin.  For tighter areas around seams and drains, the scrub brush will probably be easier to use, and will help remove any residual staining.

Deep Scratch Repair

If you have any very deep scratches, simply using the cleaning powder will not be sufficient to restoring your sink.  At this point, you’ll want to break out the sandpaper.

One of the benefits of solid surface is that the pattern and color goes all the way through the countertop—it’s not just on the surface layer.  Therefore, many scratches can actually be sanded out without damaging the look of your sink.

Start with a 400-grit piece of sandpaper, and see if that works.  If the scratch remains, continue with more aggressive grits, even down to 60-grit.

The Toughest Scratches

If you’re an expert DYIer, you can handle even deeper scratches than that, though that’s a much more complicated process than simple cleaning and sanding.  An old rotary tool, equipped with an aluminum oxide bit, can be used to polish out deep scratches.  A diamond cutting wheel can be used to cut a deep groove right on the dark marks, which will remove the scratches but will require them to be filled back in again, using epoxy.

Final Steps

Once you’ve restored your sink, be it with cleansers, sandpaper or epoxy, it should look good as new again.  You can keep it looking newer for longer by regularly cleaning it with an abrasive cleaner and pad – it’s much easier to stay on top of cleaning regularly rather than making a major project out of it every few years.

Our trained professionals here can help you if you don’t feel confident dealing with the deepest scratches.  If you want the benefit of experienced contractors with years of experience, or simply need some more personalized advice on how to continue, please don’t hesitate to contact us.  We’re glad to help with the fabrication, installation and maintenance of solid surface material, and we promise to bring the absolute best experience to each and every one of our clients.